Mounting Options
Secure Your Signage with the Right Installation Method
Mounting Surface Options
- Brick or Block Walls: order studs in line for Brick or Block.
- Stucco Walls: secure with studs and pads (Combination All Mount)
- Corrugated Walls: ideal if letters are secured to rails first, then onto the wall by word.
- Glass:
secure flat letters with double faced tape and silicone, plain or pad mounts.
- Plastic Panels:
flat plastic can be bonded to plastic panels with double faced tape or solvent.
- Wood: pads, studs or a combination of the two work well.
Letter Installation Guides
- Mounting Pattern:
a drilling template for any mounting that has a stud mount. (Not available for LED Channel Letters.)
- Stencil:
a full-sized paper pattern for flat, plain or double-faced taped letters under 6'' inches.
- Split Stencil:
a partial stencil for flat, plain, double faced tape or pad mount letters.
- Spacing Tape: a narrow paper guide to help position pad mounted plastic letters.
Most Common: Mounting Options
- Studs: threaded rods installed into the back of the sign and mounted into pre-drilled holes on the installation surface.
- Standoffs with Studs:
elevated mounting of your letters.
- Pad:
plastic pad extending beyond the back of letters or logos.
- Combination or Combination All:
studs through pads.
- Double Faced Tape: interior signs only, making it a fast and simple installation option for smooth interior surfaces.
- Double Rail:
letters mounted to two rails, metal or plastic.
- The bottom or Top Rail:
letters 3/8'' thick or greater, plastic or metal.
- The bottom or Top Stud: letters 3/8'' thick or greater, drilled and tapped for studs.
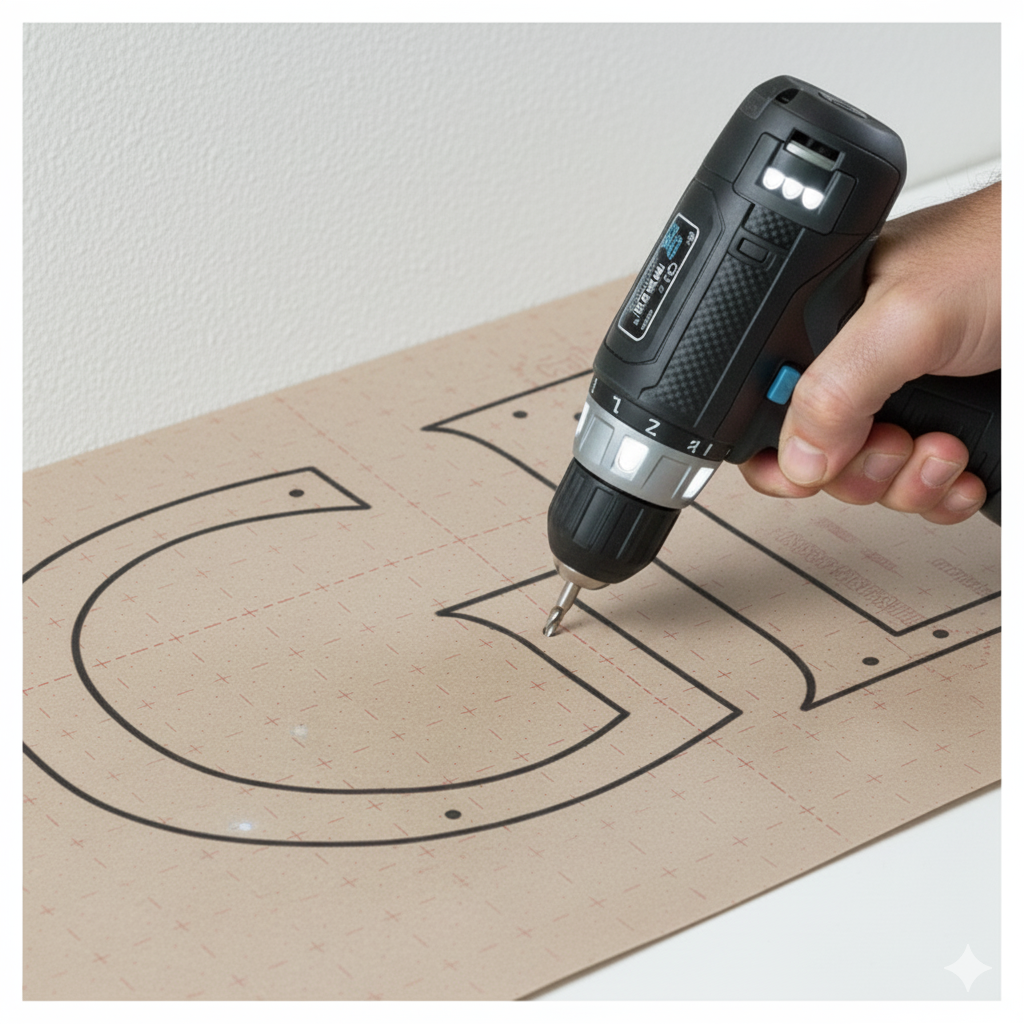
Mounting Pattern
Computer-generated pattern with precise hole locations clearly marked. Simply tape the pattern onto the desired wall or surface and then drill the indicated holes.